Wireless printers have become a staple in homes and offices around the world. They offer the convenience of printing from anywhere within the network’s range.
However, it’s not uncommon to encounter issues. One common problem is the printer being connected to the network but not printing.
This guide aims to help you troubleshoot this issue. We’ll walk you through common causes and solutions to get your printer back up and running.
Common Reasons for Wireless Printers Not Printing
There are several reasons why your wireless printer might be connected but not printing. Understanding these reasons can help you troubleshoot more effectively.
One common cause is outdated or corrupted printer drivers. These drivers are essential for communication between your computer and printer.
Another reason could be incorrect printer settings. For instance, your printer might not be set as the default printer on your computer.
Network issues can also cause printing problems. These include interference from other devices, incorrect network settings, or the printer being out of range from the router.
Here are some common reasons for wireless printers not printing:
- Outdated or corrupted printer drivers
- Incorrect printer settings
- Network issues
- Physical obstructions or distance from the router
- Printer hardware malfunctions
- Firewall or security settings blocking the printer
- Stuck print jobs in the print queue
- Incompatibility between the printer and the operating system
- Changes in network settings or routers
- Incorrect network profile settings on the computer
Preliminary Checks Before Troubleshooting
Before you start troubleshooting, there are a few preliminary checks you should perform. These checks can help you identify the problem more quickly.
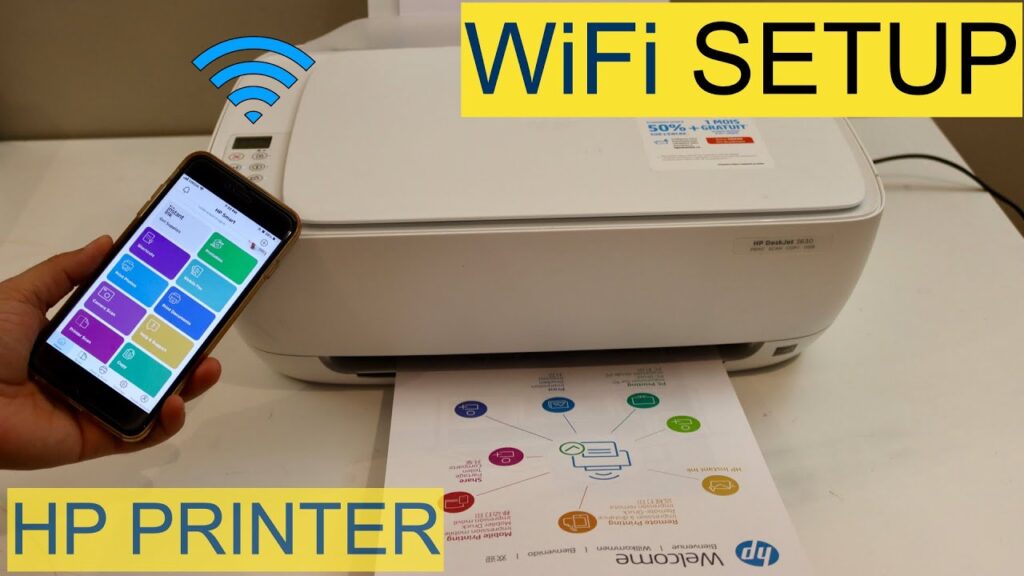
First, ensure that your printer is properly connected to the wireless network. You can usually check this from the printer’s control panel or by printing a network configuration page.
Next, check if there are any stuck print jobs in the print queue. Stuck jobs can prevent new print commands from being processed.
Finally, make sure that your printer is set as the default printer on your computer. If it’s not, your computer might be sending print jobs to the wrong device.
Here are the preliminary checks to perform:
- Check the printer’s connection to the wireless network
- Check for stuck print jobs in the print queue
- Ensure the printer is set as the default printer on your computer
Step 1: Confirming Printer Connection to Wi-Fi
The first step in troubleshooting is to confirm that your printer is connected to your Wi-Fi network. You can usually do this by checking the printer’s control panel. Look for a Wi-Fi icon or a message that indicates the printer’s connection status.
If your printer is not connected, you may need to reconnect it to your network. This process can vary depending on the printer model, so refer to your printer’s user manual for specific instructions.
Remember, your printer and computer must be connected to the same network to print wirelessly. If they’re on different networks, you’ll need to correct this.
Lastly, try printing a wireless network test report from your printer’s control panel. This report can provide useful information about your printer’s connection status and any potential issues.
Step 2: Checking Printer and Computer Settings
Next, ensure that your printer is set as the default printer on your computer. You can do this by going to your computer’s printer settings. If your printer is not set as the default, your computer may be trying to send print jobs to a different printer.
Also, check your printer’s IP address and network settings. These should match the settings of your Wi-Fi network. If they don’t, you may need to manually adjust them.
Don’t forget to check the print queue for stuck jobs. If there are any, clear them out to see if this resolves the issue.
Lastly, verify that your printer is compatible with the operating system you’re using. If it’s not, you may need to update your operating system or get a different printer.
Step 3: Restarting Devices and Clearing Print Jobs
Sometimes, a simple restart can solve many issues. Start by restarting your printer and computer. This can help reset any temporary software glitches that may be causing the problem.
Next, clear any pending print jobs. Stuck print jobs can prevent new ones from being processed. You can do this from the printer’s control panel or from your computer’s printer settings.
If your printer has a built-in troubleshooting tool or diagnostics, use it. These tools can often identify and fix issues automatically.
Lastly, consider restarting your wireless router. This can help resolve any network connectivity issues that may be affecting your printer.
Step 4: Updating Printer Drivers and Firmware
Printer drivers are essential for communication between your computer and printer. Outdated or corrupt drivers can cause printing issues. Check the manufacturer’s website for the latest drivers and install them.
Firmware updates can also resolve printing problems. Firmware is the software that runs on your printer. Manufacturers often release updates to fix bugs or improve performance.
Before updating, ensure your printer is connected to the internet. Follow the manufacturer’s instructions to update the firmware. This process may vary depending on the printer model.
Remember, interrupting a firmware update can damage your printer. Ensure your printer is connected to a reliable power source during the update.
Step 5: Checking Network Configuration and Interference
Wireless printers rely on a stable network connection. Check your router’s settings to ensure it’s configured correctly for your printer. The printer and computer should be on the same subnet.
Interference from other wireless devices can disrupt your printer’s connection. Devices like cordless phones, microwaves, and baby monitors can interfere with your printer’s signal. Try to position your printer away from these devices.
Check your router’s wireless channel. If it’s congested with too many devices, it can cause connectivity issues. Changing the channel can improve the connection.
Lastly, ensure your printer is within the router’s range. A weak signal can prevent printing.
Step 6: Adjusting Firewall and Security Settings
Firewall settings on your computer can block communication with your printer. Check your firewall settings and make sure your printer is not being blocked. If necessary, adjust the settings to allow your printer through.
Your printer’s security settings should match your network’s requirements. Check if your network uses WEP, WPA, or WPA2 encryption and ensure your printer’s settings match.
Third-party security software can also interfere with printer connectivity. Temporarily disable any such software to test if it’s causing the issue.
Remember to re-enable your security software once you’re done testing. It’s crucial to keep your devices protected.
Step 7: Using Built-in Printer Troubleshooting Tools
Most printers come with built-in troubleshooting tools. These tools can diagnose and fix common issues. Check your printer’s control panel or software for these options.
Windows users can also use the Windows Printer Troubleshooter. This tool can identify and fix common printer problems. Access it through the Control Panel or by typing “troubleshoot” in the search bar.
Some printer manufacturers offer mobile apps or software for troubleshooting. These can be very helpful in diagnosing and fixing issues.
Remember, always consult your printer’s user manual for model-specific guidance. It can provide valuable information on using these tools effectively.
When to Contact Support or Consider Hardware Issues
If you’ve tried all the steps and your printer still won’t print, it might be time to contact support. Have your printer’s model number and serial number handy. They will help the support team assist you more effectively.
In some cases, the issue might be due to hardware malfunctions. If your printer is under warranty, consider seeking repairs or replacements. If it’s not, you might need to weigh the cost of repair against buying a new printer.
Conclusion and Final Tips
Troubleshooting a wireless printer that’s connected but not printing can be a complex task. However, with patience and systematic troubleshooting, you can often resolve the issue effectively. Remember to check both the printer and network settings, and don’t overlook the importance of regular updates.
If you’re still having trouble, don’t hesitate to seek help from online forums or the printer manufacturer’s support. Other users may have encountered similar issues and can offer valuable advice.
Remember, technology is not infallible. Sometimes, a simple restart can do wonders. So, before diving into complex troubleshooting, try the simplest solutions first.
Lastly, keep your printer’s user manual handy. It often contains model-specific guidance that can be invaluable in resolving issues. Happy troubleshooting!