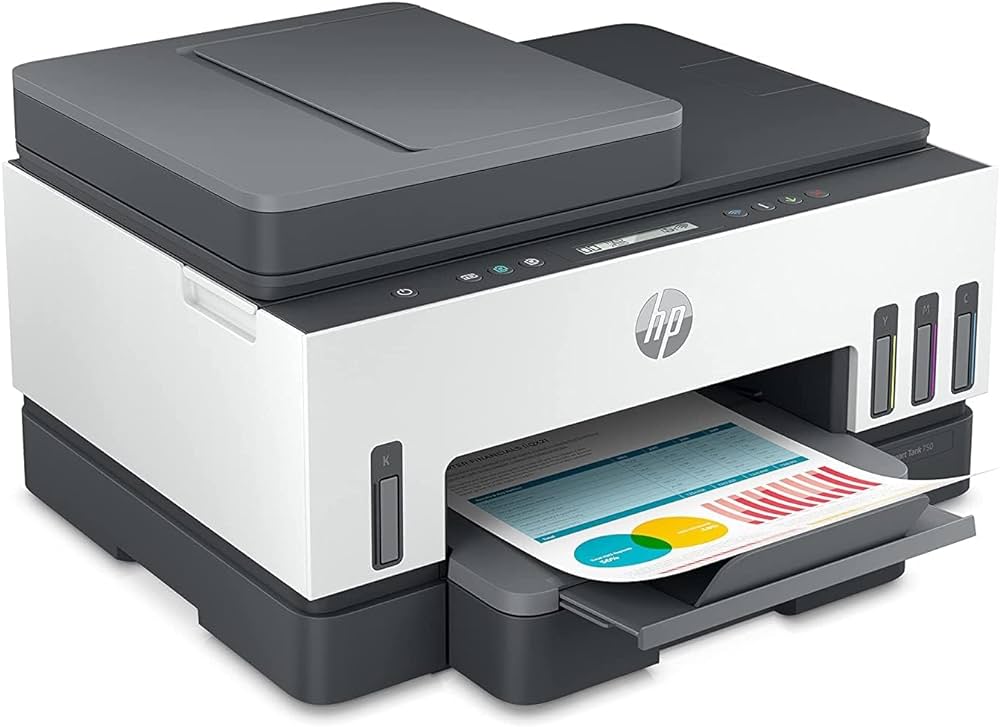
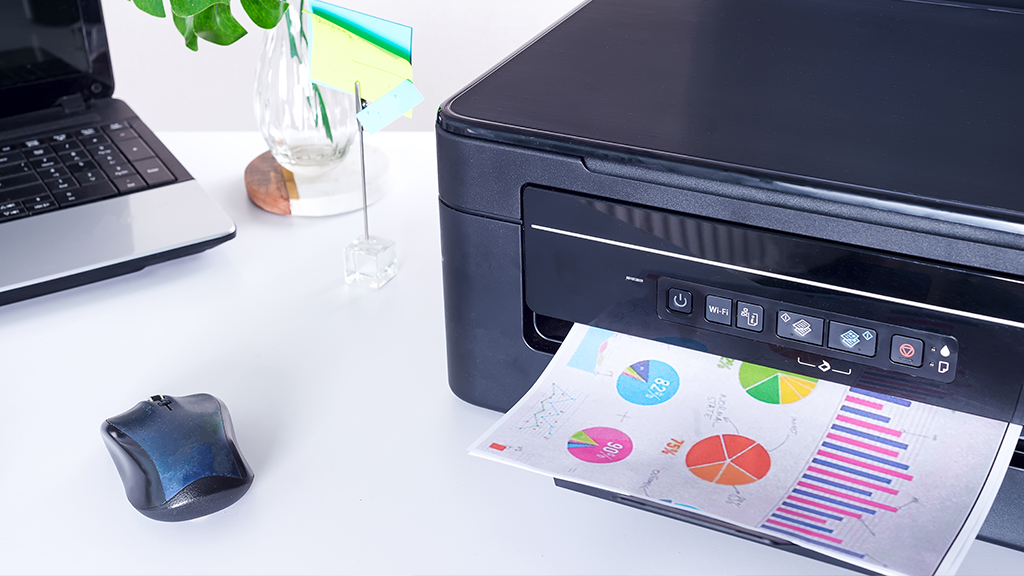
In the digital age, having a printer wifi connection is a must. It allows for seamless printing from various devices without the need for cables.
But how do you connect your printer to wifi?
This guide will walk you through the process. It’s designed to help you set up your printer wifi connection with ease.
We’ll cover everything from the basics to troubleshooting common issues. Whether you’re a home user or a small business owner, this guide is for you.
By the end of this article, you’ll be able to print wirelessly with confidence. Let’s get started on how to connect your printer to wifi.
Understanding Printer WiFi Connection Basics
Connecting a printer to wifi involves linking it to your wireless network. This allows the printer to receive print jobs from devices connected to the same network.
The process varies slightly depending on the printer brand and model. However, the basic steps remain the same.
You’ll need to access your printer’s wifi settings. From there, you can select your network and enter the password.
Understanding these basics will make the process smoother. It’s the first step in learning how to connect your printer to wifi.
Preparing to Connect Your Printer to WiFi
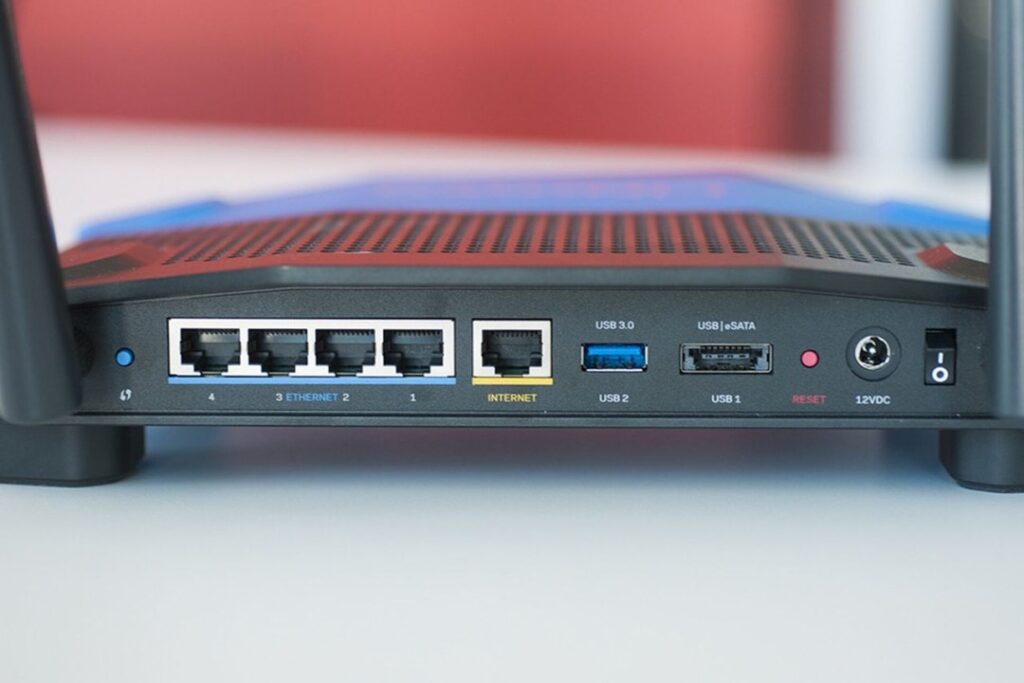
Before you start, ensure you have the necessary details. You’ll need your WiFi network name (SSID) and password.
Make sure your printer is close to your router. This ensures a strong signal during the setup process.
Check that your printer is turned on and ready. Some printers may require you to press a setup button or navigate to a setup menu.
Here are the key steps to prepare:
- Gather your WiFi network name and password.
- Position your printer close to your router.
- Ensure your printer is turned on and ready for setup.
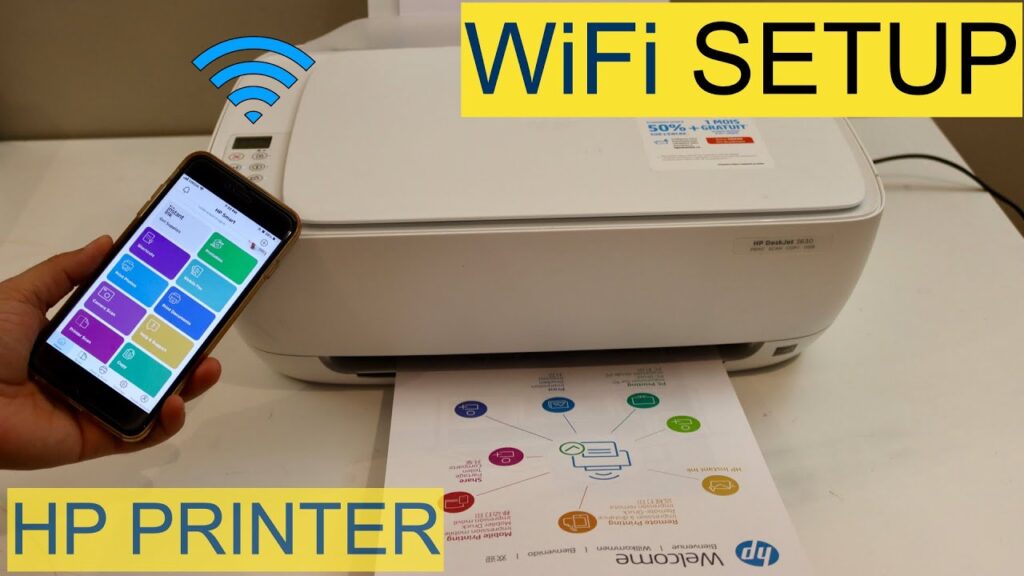
Step-by-Step Guide to Connecting Your Printer to WiFi
Connecting your printer to WiFi involves a few steps. The process may vary slightly depending on your printer model.
First, ensure your printer is in setup mode. This allows it to detect and connect to your WiFi network.
Next, select your WiFi network from the list on your printer’s display. Enter your WiFi password when prompted.
Your printer should now connect to your WiFi network. This may take a few moments.
Here are the key steps:
- Put your printer in setup mode.
- Select your WiFi network from the list.
- Enter your WiFi password.
- Wait for your printer to connect.

Using the Printer’s WPS Button
If your printer has a WPS button, you can use it to connect to WiFi. Press the WPS button on your printer.
Then, within two minutes, press the WPS button on your router. Your printer should now connect to your WiFi network.
This method is quick and easy. However, not all printers or routers have a WPS button.
Using the Printer’s Built-In Menu
You can also use your printer’s built-in menu to connect to WiFi. Navigate to the network or wireless settings on your printer’s display.
Select your WiFi network from the list. Enter your WiFi password when prompted.
Your printer should now connect to your WiFi network. This method gives you more control over your printer’s network settings.
Using a Computer to Connect the Printer
You can use a computer to connect your printer to WiFi. First, ensure your computer is connected to your WiFi network.
Next, download and install your printer’s software on your computer. Follow the on-screen instructions to connect your printer to WiFi.
This method is useful if your printer doesn’t have a display or if you prefer using a computer.
Installing Printer Drivers and Software
Once your printer is connected to WiFi, you need to install the printer drivers and software. These are essential for your printer to function correctly.
You can download the drivers and software from the printer manufacturer’s website. Make sure to download the correct version for your printer model and computer operating system.
After downloading, run the installer and follow the on-screen instructions. This process usually includes agreeing to terms and conditions and selecting installation options.
Once installed, your printer should be ready to use over your WiFi network.
Troubleshooting Common WiFi Connection Issues
Sometimes, you may face issues while trying to connect your printer to WiFi. Don’t worry, most of these issues can be resolved with a few simple steps.
First, check if your printer and WiFi router are turned on and working properly. Also, ensure that your printer is within the WiFi signal range.
Next, verify that you have entered the correct WiFi network name (SSID) and password. Remember, these details are case-sensitive.
Lastly, try restarting your printer, WiFi router, and computer. This can often resolve minor connectivity issues.
Checking Network Compatibility
Your printer and WiFi network must be compatible for a successful connection. Check if your printer supports the same WiFi band (2.4 GHz or 5 GHz) as your router.
Also, ensure that your printer is compatible with your router’s security protocol (WPA, WPA2, etc.).
Resolving IP Address Conflicts
IP address conflicts can prevent your printer from connecting to WiFi. This happens when two devices on the same network have the same IP address.
To resolve this, you can try restarting your router. This will force it to assign new IP addresses to all connected devices.
Updating Printer Firmware
Outdated printer firmware can cause WiFi connection issues. Check the printer manufacturer’s website for any firmware updates.
If available, download and install the update following the provided instructions. This can often resolve any connectivity issues you’re facing.
Final Steps: Confirming Your Printer’s WiFi Connection
Once you’ve connected your printer to WiFi, it’s important to confirm the connection. You can do this by printing a test page.

If the test page prints successfully, your printer is connected to WiFi. If not, revisit the previous steps or consult your printer’s manual for further assistance.
Remember, a successful printer WiFi connection ensures seamless printing from any device on the same network.
Additional Tips for a Smooth Printer Network Connection
For a smooth printer network connection, consider the following tips.
First, ensure your printer is within range of your WiFi router. A weak signal can cause connection issues.
Second, keep your printer’s firmware updated. This can improve connectivity and resolve any existing issues.
Lastly, consider the following checklist for a smooth printer network connection:
- Keep your printer within range of your WiFi router.
- Regularly update your printer’s firmware.
- Ensure your printer and computer are on the same network.
- Check for any IP address conflicts and resolve them.
- Regularly restart your printer and router to refresh the network connection.
By following these tips, you can ensure a smooth and reliable printer WiFi connection.
Conclusion
Connecting your printer to WiFi can seem daunting, but with this guide, it’s a breeze. Remember, each printer is unique, so refer to your manual for specific instructions.
With your printer now connected to WiFi, enjoy the convenience of wireless printing. Happy printing!