Setting up a new printer can seem like a daunting task. Especially if you’re not tech-savvy.
But don’t worry. This guide is here to help you navigate the process of printer installation.
We’ll walk you through the steps of how to add a printer to your computer. Both wired and wireless connections will be covered.
You’ll also learn how to connect your printer to your Wi-Fi network. This is crucial for wireless printing.
By the end of this guide, you’ll be able to print documents with ease. Whether you’re at home or in the office.
So, let’s get started. Your journey to hassle-free printing begins here.
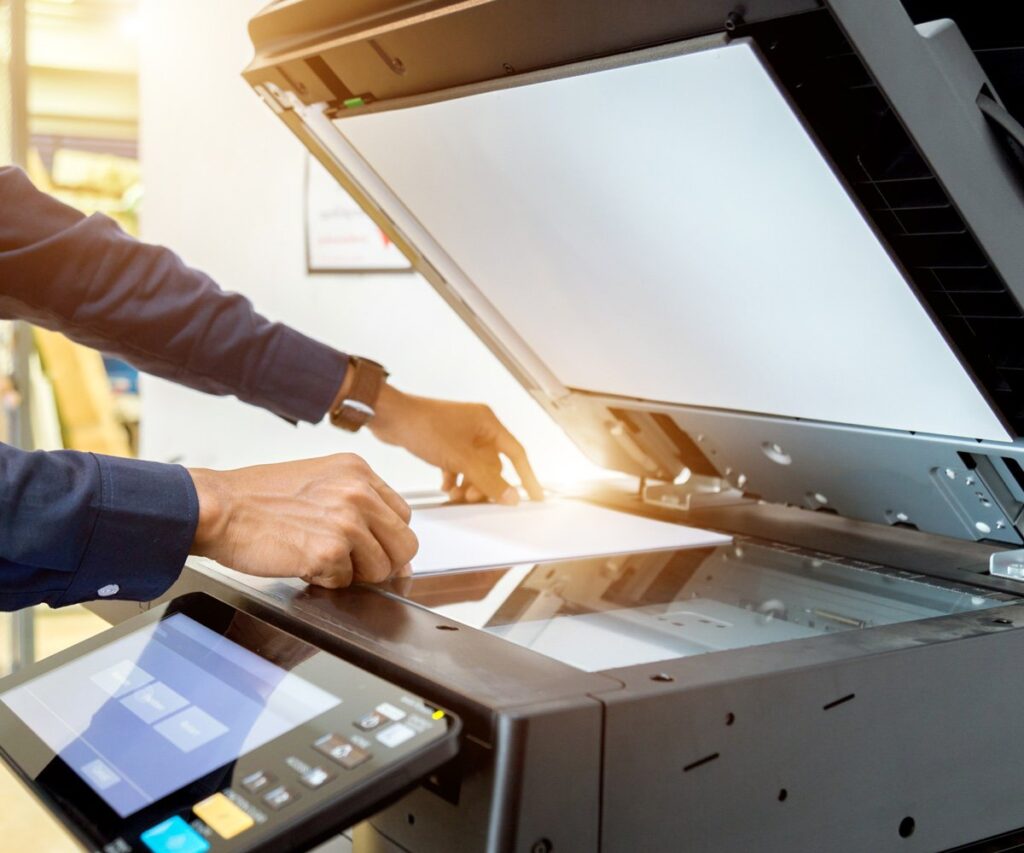
Understanding Printer Installation Basics
Before we dive into the steps, let’s understand some basics. Printer installation involves connecting your printer to your computer or network.
This can be done using a USB cable for a wired connection. Or via Wi-Fi for a wireless connection. The process also includes installing the necessary printer drivers and software. These ensure your printer and computer can communicate effectively.
Preparing for Printer Installation
Before you start, ensure you have all the necessary items. This includes the printer, a USB cable for wired connections, and your computer.
For wireless connections, you’ll need a stable Wi-Fi network. Also, make sure your printer is compatible with your computer’s operating system.
Here’s a quick checklist to help you prepare:
- Printer
- USB cable (for wired connections)
- Stable Wi-Fi network (for wireless connections)
- Computer with compatible operating system
Once you have all these, you’re ready to start the installation process.
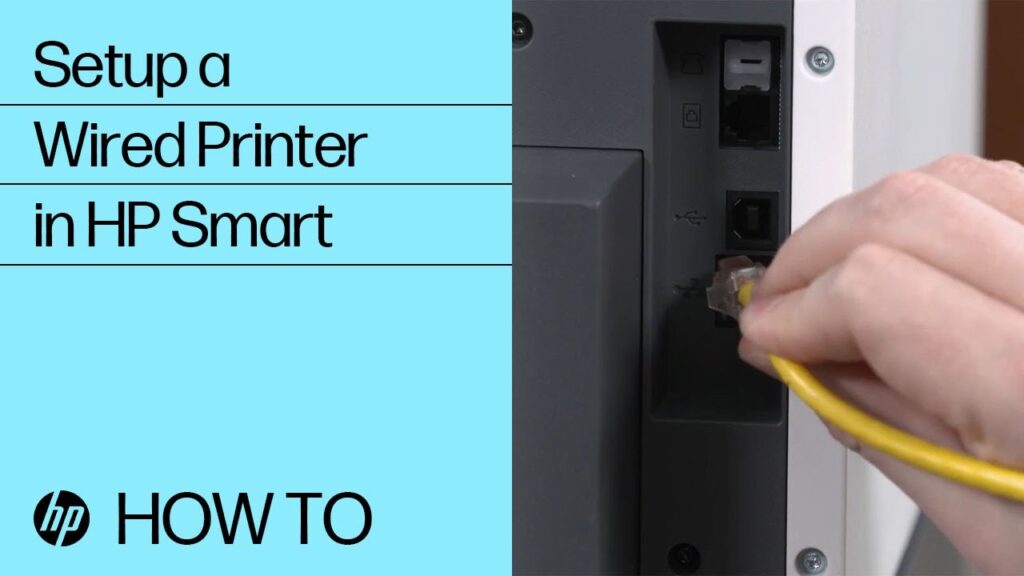
Step-by-Step Guide to Adding a Wired Printer
Adding a wired printer to your computer is a straightforward process. Here’s a step-by-step guide to help you through it.
First, connect the printer to your computer using the USB cable. Plug one end into the printer and the other into your computer’s USB port.
Next, turn on your printer. Your computer should detect it automatically. If it doesn’t, you’ll need to add it manually.
To add the printer manually, go to your computer’s control panel. Select ‘Devices and Printers’, then click on ‘Add a Printer’.
Your computer will search for the connected printer. Once it’s found, select it and follow the on-screen instructions to complete the installation.
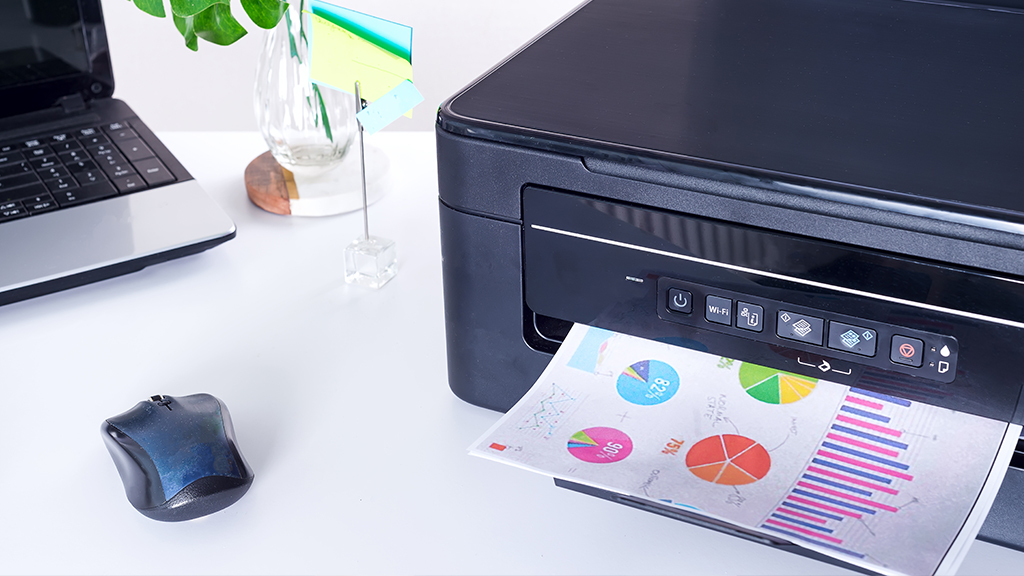
Finally, print a test page to ensure the printer is working correctly. If it prints successfully, your printer is ready to use.
Step-by-Step Guide to Connecting a Printer to WiFi
Connecting a printer to your WiFi network allows you to print from any device connected to the same network. Here’s how to do it.
First, ensure your printer is WiFi-capable. Check the printer’s manual or the manufacturer’s website if you’re unsure.
Next, turn on your printer and navigate to its network settings. Look for an option that says ‘Wireless Setup’ or something similar.
Once you’re in the wireless setup, your printer will search for available networks. Select your WiFi network from the list.
You’ll then need to enter your WiFi password. Make sure to enter it correctly, as it’s usually case-sensitive.
Finally, print a test page to ensure the printer is connected correctly. If it prints successfully, your printer is now connected to your WiFi network and ready to use.
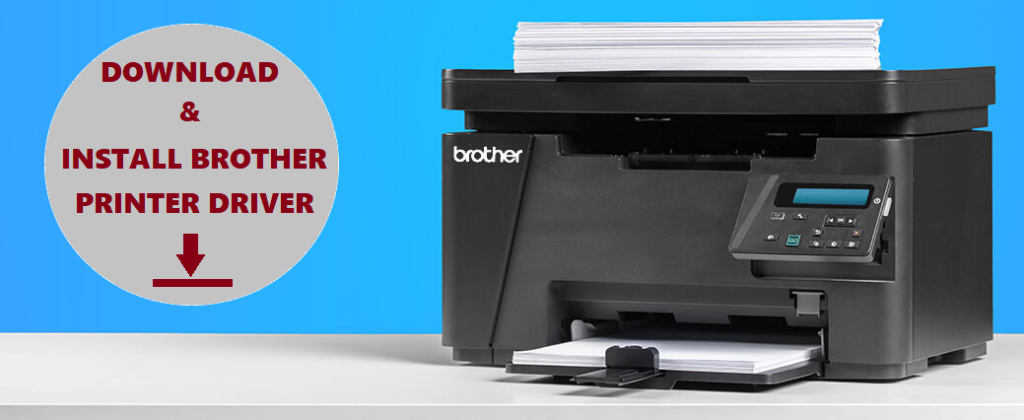
Installing Printer Drivers and Software
Printer drivers are essential for your printer to communicate with your computer. Without them, your printer won’t function correctly.
Most modern printers come with a CD that contains the necessary drivers. Insert the CD into your computer and follow the on-screen instructions to install the drivers.
If your printer didn’t come with a CD, or your computer doesn’t have a CD drive, you can download the drivers from the printer manufacturer’s website. Make sure to download the correct drivers for your printer model and your computer’s operating system.
Once the drivers are installed, your printer should be ready to use. If it’s not, you may need to restart your computer.
Troubleshooting Common Printer Installation Issues
Even with the right steps, you might face issues during printer installation. Don’t worry, most of these problems have simple solutions.
One common issue is the printer not being recognized by the computer. This could be due to outdated drivers or a faulty USB cable. Try updating the drivers or using a different cable.
If you’re trying to connect a printer to Wi-Fi, ensure your Wi-Fi connection is stable. Also, check if your printer is within the Wi-Fi range.
Here are some other common issues and their solutions:
- Printer not printing: Check if the printer has enough ink and paper.
- Printer printing slowly: Try reducing the print quality or switch to draft mode.
- Paper jam: Remove the jammed paper carefully without tearing it.
Remember, if you can’t resolve the issue, it’s best to contact the printer manufacturer’s customer support.
Tips for Successful Printer Installation
A successful printer installation is not just about connecting the printer to your computer. It’s also about ensuring optimal performance and longevity of your device.
Firstly, always use the latest drivers for your printer. This ensures compatibility and optimal performance. You can usually find these on the manufacturer’s website.
Here are some additional tips for a successful printer installation:
- Place your printer close to your computer or Wi-Fi router for a stable connection.
- Regularly update your printer’s firmware to fix bugs and improve performance.
- Always use high-quality ink or toner to prevent damage to your printer.
Remember, a well-maintained printer can serve you for many years.
Finalizing Your Printer Setup
Once you’ve successfully installed your printer, it’s time to finalize the setup. This includes aligning the printer cartridges and printing a test page.
Remember to regularly check for software updates to ensure your printer continues to function optimally. Regular maintenance is key to a long-lasting printer.
Conclusion and Next Steps
Congratulations! You’ve successfully added a printer to your computer. Whether it’s wired or wireless, you’re now ready to start printing.
Remember, the key to a well-functioning printer is regular maintenance and updates. Happy printing!