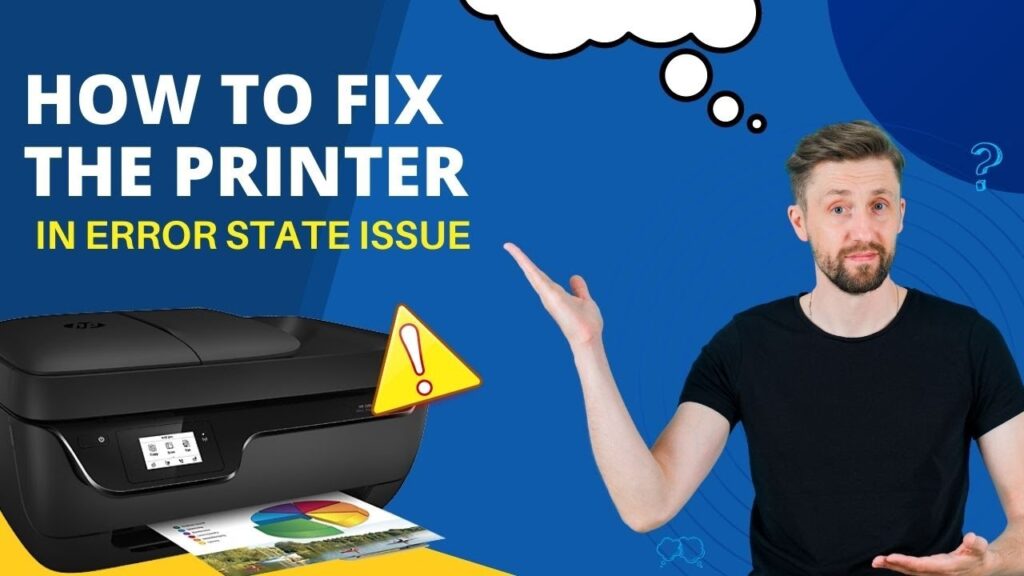
In the digital age, document scanning and printing remain vital. Whether for work, school, or personal use, these tasks are common.
Yet, many people struggle with them. They may not know how to scan from a printer or how to transfer a scanned document to a computer.
This guide aims to help. It provides a step-by-step process on how to scan and print a document effectively.
From choosing the right equipment to troubleshooting common issues, we’ve got you covered. You’ll learn how to maintain document clarity and ensure color accuracy.
Whether you’re a student, office worker, or home user, this guide is for you.
Understanding Document Scanning and Printing
Document scanning and printing are two sides of the same coin. Scanning converts a physical document into a digital format. Printing does the opposite, turning a digital file into a physical copy.
Both processes require specific hardware and software. They also need a basic understanding of how to adjust settings for optimal results.
The Basics of Scanning and Printing
Scanning involves placing a document on a scanner bed. The scanner then captures an image of the document. This image can be saved in various formats like PDF or JPEG.
Printing, on the other hand, requires a digital file. The printer interprets this file and reproduces it on paper. The quality of the printout depends on the printer’s resolution and the paper used.
Choosing the Right Equipment
Choosing the right equipment is crucial. For scanning, you need a scanner. Some printers come with built-in scanners, known as all-in-one printers.
For printing, a printer is necessary. The choice of printer depends on your needs. Inkjet printers are suitable for color printing, while laser printers are ideal for black and white documents.
Preparing to Scan a Document
Before you start scanning, ensure your scanner is connected to your computer. You also need to have the necessary scanning software installed. Most scanners come with their own software, but there are also third-party options available.
Next, prepare the document you want to scan. Remove any staples or paper clips. Make sure the document is clean and free from smudges or marks.
Here are some steps to follow:
- Connect the scanner to your computer.
- Install the scanning software.
- Prepare the document for scanning.
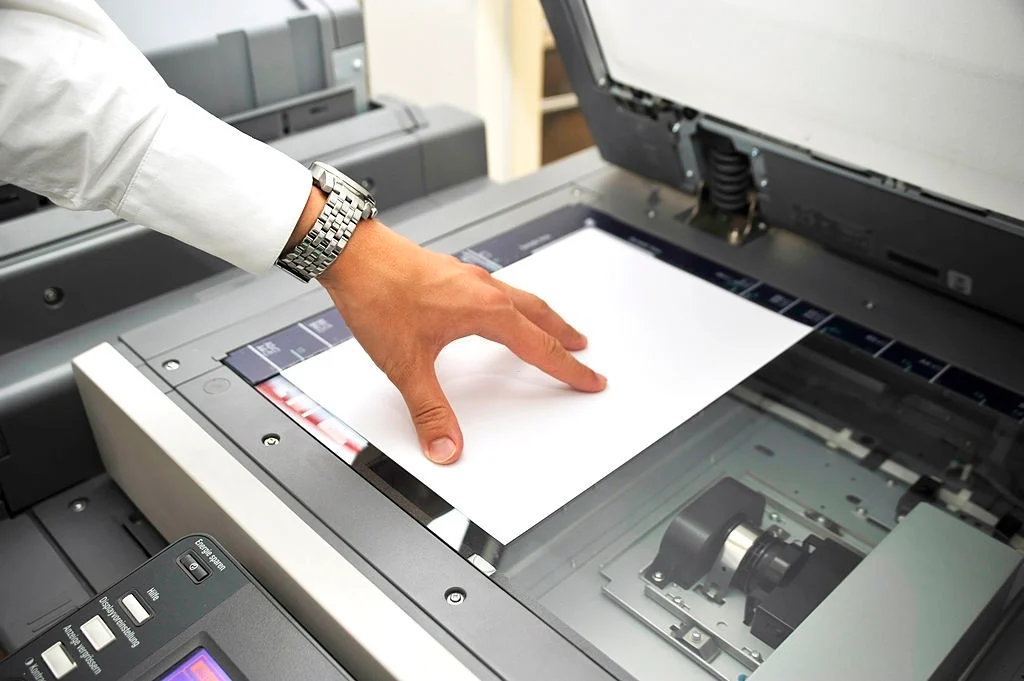
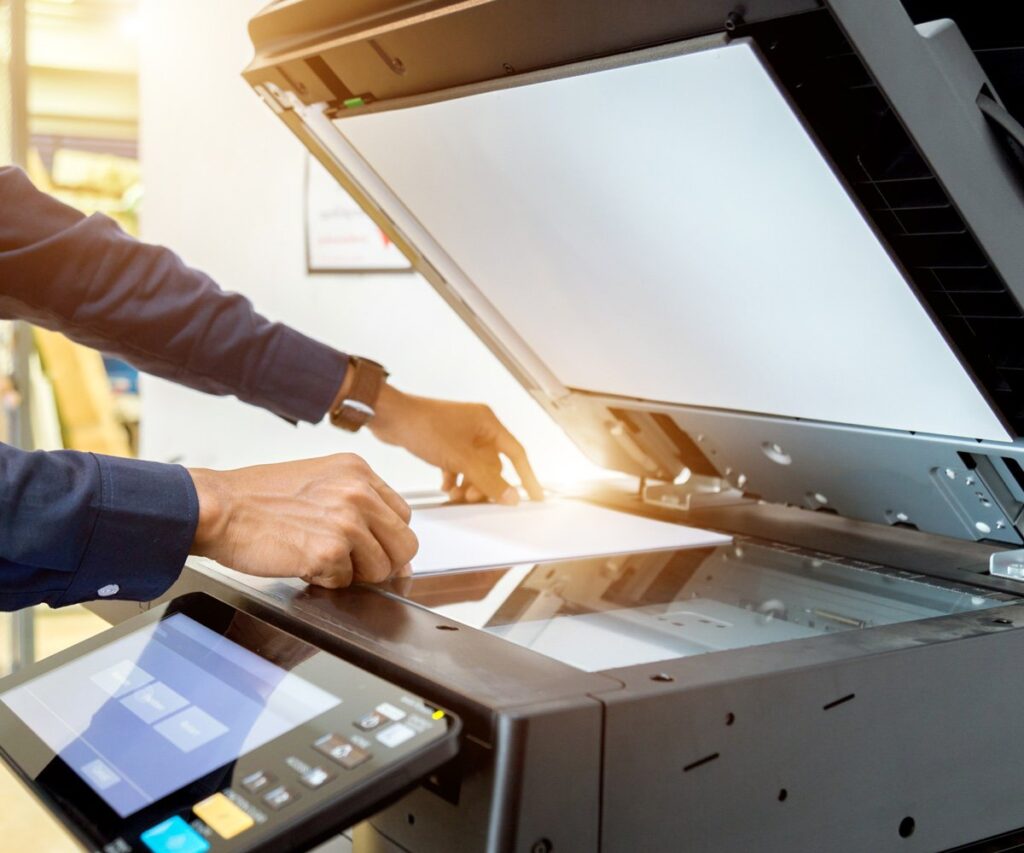
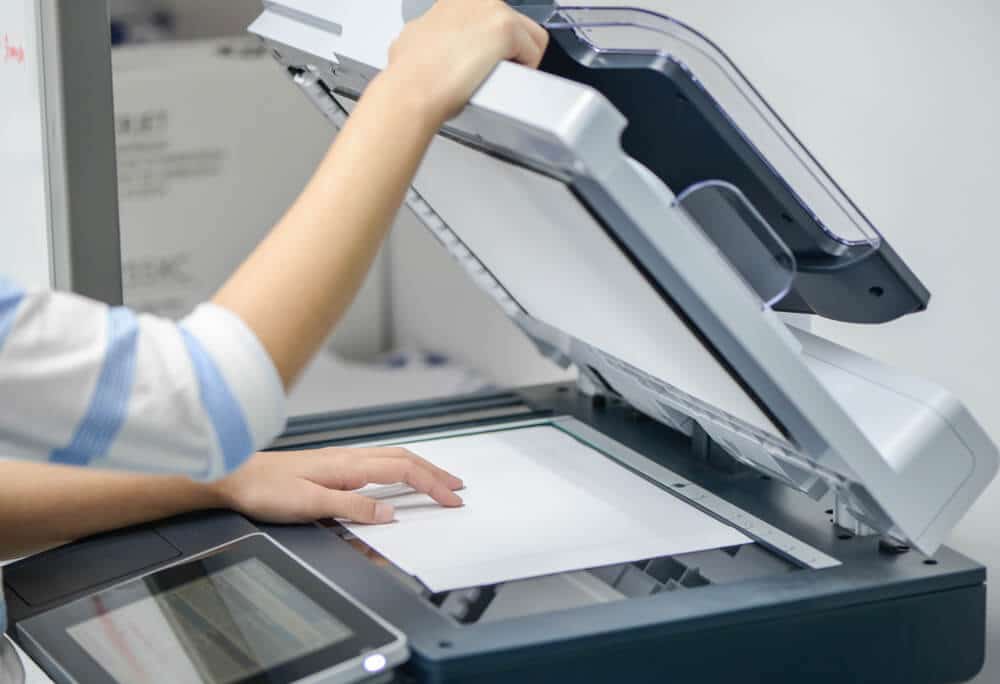
Positioning Your Document
Place the document face down on the scanner bed. Align it with the guides on the edges of the scanner. This ensures the document is straight and centered.
Make sure the document is flat against the scanner glass. Any wrinkles or folds can cause shadows or distortions in the scanned image.
Selecting Scan Settings
Before you scan, select the appropriate settings in your scanning software. Choose the file format for the scanned image. PDF is a common choice for text documents, while JPEG is often used for photos.
Also, select the scanning resolution. Higher resolutions result in clearer images but larger file sizes. For most documents, a resolution of 300 dpi is sufficient.
Scanning the Document
Once your document is positioned and your settings are selected, you’re ready to scan. Start the scanning process by pressing the scan button on your scanner or in your scanning software.
As the scanner scans the document, an image of the document appears on your computer screen. This is a preview of the scanned document. Check this preview to ensure the document is scanned correctly.
If the preview looks good, save the scanned document. If not, adjust the document or scanner settings and scan again.

How to Scan Document From Printer to Computer
To scan a document from a printer to a computer, first place the document on the scanner bed. Then, on your computer, open the scanning software.
Select the scan option in the software. This starts the scanning process. The scanner scans the document and sends the image to your computer.
Once the scanning is complete, the image appears on your computer screen. Save the scanned document to your desired location on your computer.
Editing and Saving Your Scanned Document
After scanning, you may need to edit the document. This could involve cropping, rotating, or adjusting the contrast. Use your scanning software or a photo editing tool for this.
Once you’re happy with the edits, it’s time to save the document. Choose a location on your computer where you want to save the document.
Remember to give the document a descriptive name. This will make it easier to find later. Also, choose the right file format for your needs.
File Formats and Resolution
Scanned documents can be saved in various formats. The most common are PDF and JPEG. PDF is best for text documents, while JPEG is good for photos.
The resolution of your scanned document also matters. Higher resolution results in better quality but larger file size. Choose a resolution that balances quality and file size.
Organizing Scanned Documents
Keeping your scanned documents organized is crucial. Create specific folders on your computer for different types of documents.
For instance, you could have separate folders for bills, receipts, and work documents. Regularly backing up these folders can prevent loss of important documents.
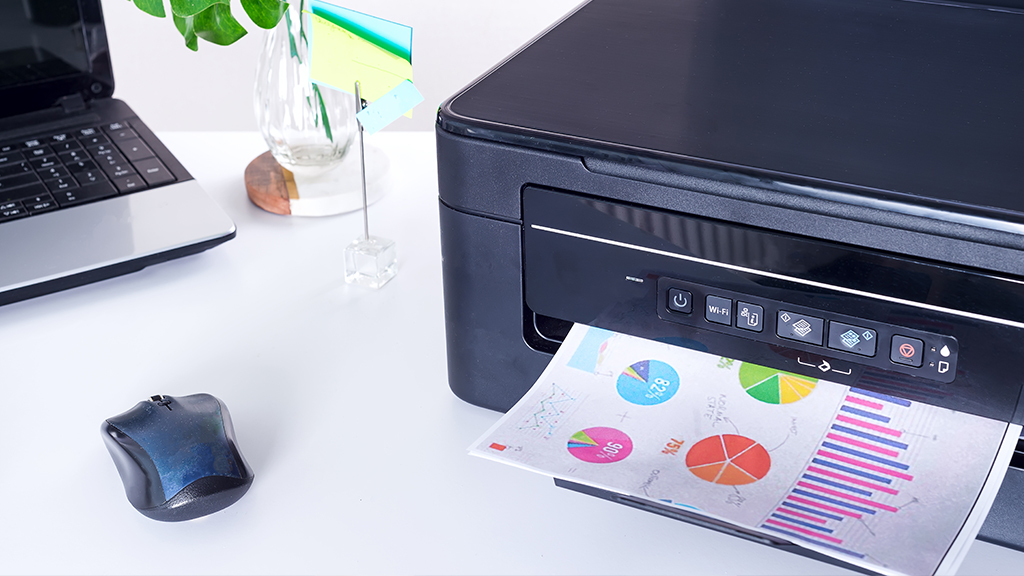
Printing Your Scanned Document
Now that your document is scanned and saved, it’s time to print. Open the document on your computer and click on the print option.
This will open a dialog box with various settings. Here, you can select the printer, number of copies, and other options.
Before you print, make sure your printer is turned on and connected to your computer. Also, check that there is enough paper in the printer.
Choosing Paper and Print Settings
The type of paper you use can affect the print quality. For text documents, standard printer paper is fine. For photos, consider using photo paper.
In the print settings, you can also choose the print quality. Higher quality settings use more ink but produce better results.
Finalizing Your Print
Once you’ve chosen your settings, click the print button. Your printer should start printing the document.
After printing, check the document to make sure it’s printed correctly. If there are any issues, you may need to adjust your print settings and try again.
Troubleshooting Common Issues
Even with careful preparation, you may encounter issues when scanning or printing. Don’t worry, most problems have simple solutions.
Here are some common issues and their solutions:
- The scanner or printer is not recognized: Check the connection and make sure the device is turned on.
- Poor scan or print quality: Clean the scanner bed or printer heads, and check the settings.
- The scanner or printer is slow: Close unnecessary programs on your computer, or consider upgrading your device if it’s old.
Scanning Problems and Solutions
If your scanner is not working properly, first check the connection. Make sure the scanner is properly connected to your computer and turned on.
If the scan quality is poor, clean the scanner bed. Dust and smudges can affect the scan quality.
Printing Problems and Solutions
If your printer is not printing, check the ink or toner levels. You may need to replace the cartridges.
If the print quality is poor, clean the printer heads. Also, check the print settings and make sure they are appropriate for the type of document you are printing.
Conclusion and Best Practices
Scanning and printing documents can seem complex, but with the right knowledge, it becomes a simple task. Remember to always check your settings and maintain your equipment for the best results.
In conclusion, understanding how to scan and print documents effectively can save you time and effort. With practice, you’ll be able to handle any document scanning and printing task with ease.